


A Homeowner’s Guide to Water Heater Troubleshooting
- Jan 1
- 12 min read
That jolt of icy water hitting you mid-shower is a universal, unwelcome surprise. It's the classic sign your water heater is on the fritz, turning a simple routine into a frustrating problem. Whether the water is just lukewarm, the tank is making strange noises, or there's no hot water at all, effective water heater troubleshooting will tell you if you're looking at a five-minute fix or a job for a pro.
This guide will walk you through the essential steps, from initial safety checks to common DIY repairs, so you can diagnose the issue with confidence.
Your First Steps in Water Heater Troubleshooting
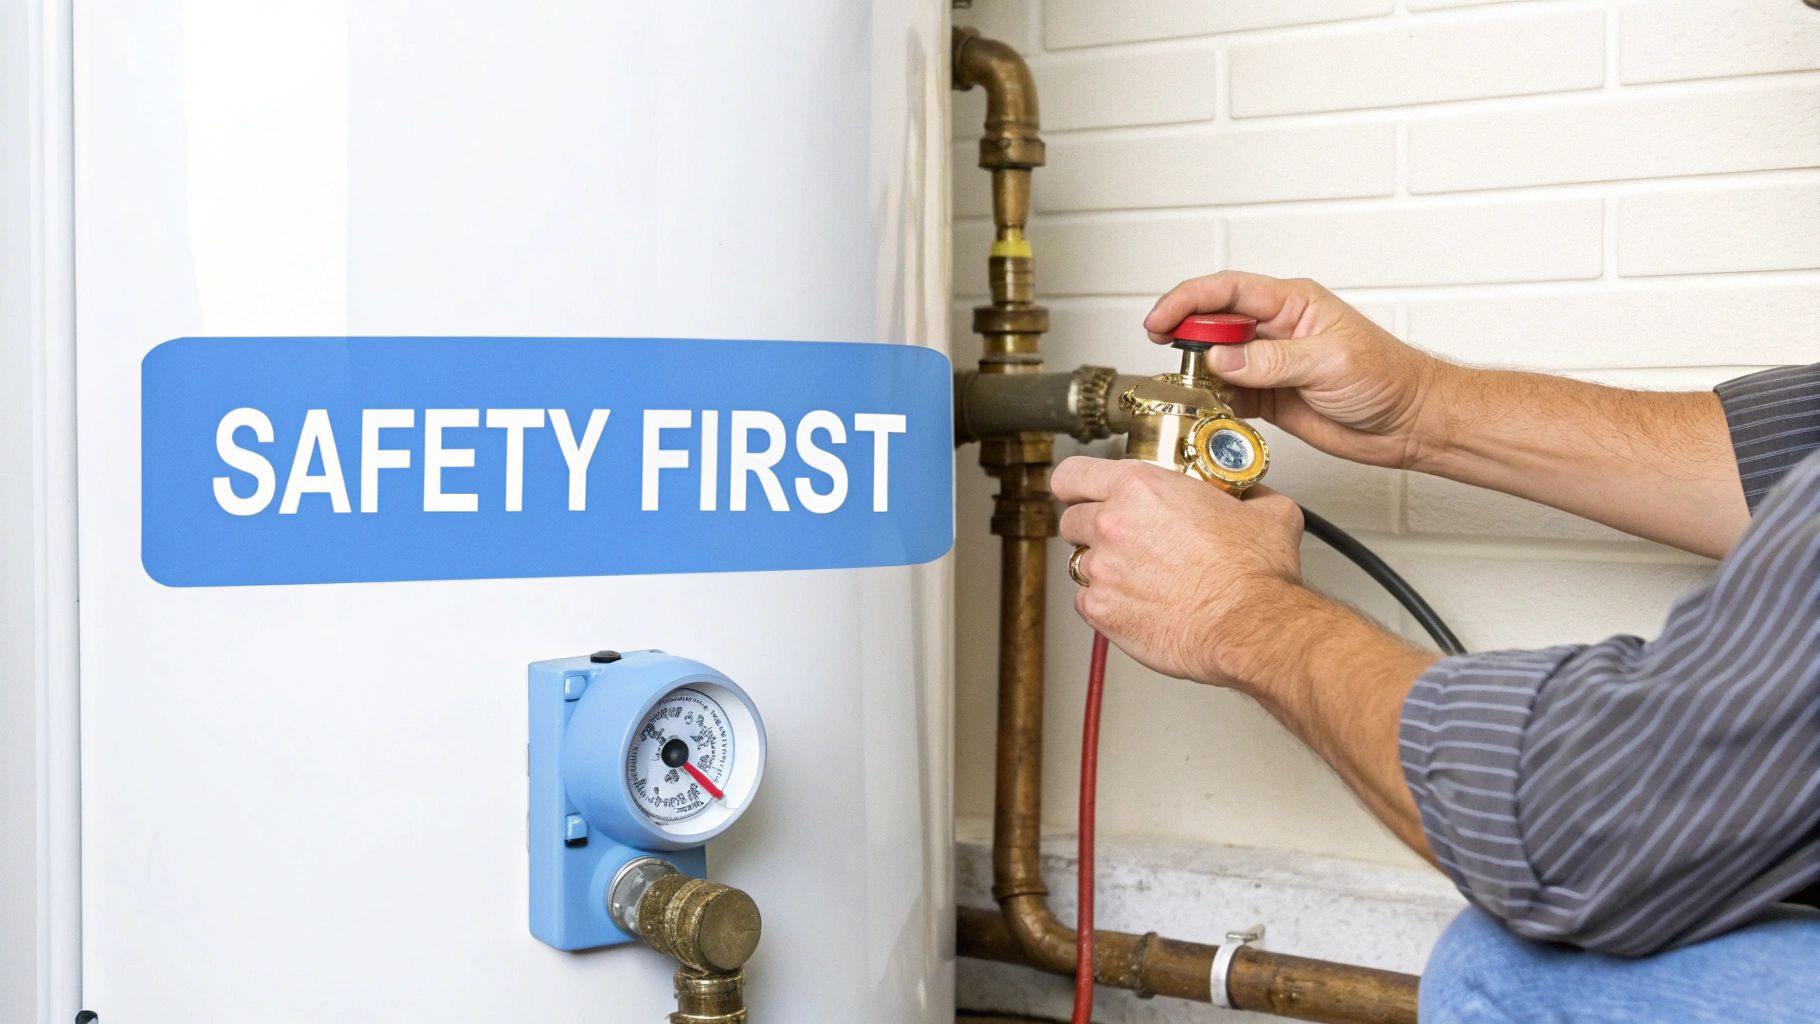
Waking up to a cold shower is a reality for millions of American households every year. Knowing the first few troubleshooting steps can save you a world of hassle. Before you even think about picking up a tool, your first priority is always safety. You must know where your water heater's shutoff valves are and how to use them to prevent a small drip from becoming a basement flood or a dangerous gas leak.
Essential Safety Shutoffs
Memorize these locations before you try to diagnose anything. If you smell gas or see a significant amount of water pooling around the unit, perform these steps immediately and call a professional.
Gas Shutoff: Look for the gas line running to your heater. You'll see a small valve with a handle. To shut it off, turn the handle so it’s perpendicular (like a "+" sign) to the pipe.
Water Shutoff: Find the cold water inlet pipe—it’s usually at the top of a tank-style heater. There will be a valve on it. Turn it clockwise as far as it will go to stop the water flow.
Power Shutoff (For Electric Heaters): Head to your home's main electrical panel. Find the circuit breaker labeled for the water heater and flip it to the "OFF" position.
This simple decision tree can help you figure out your next move based on what you’re experiencing.
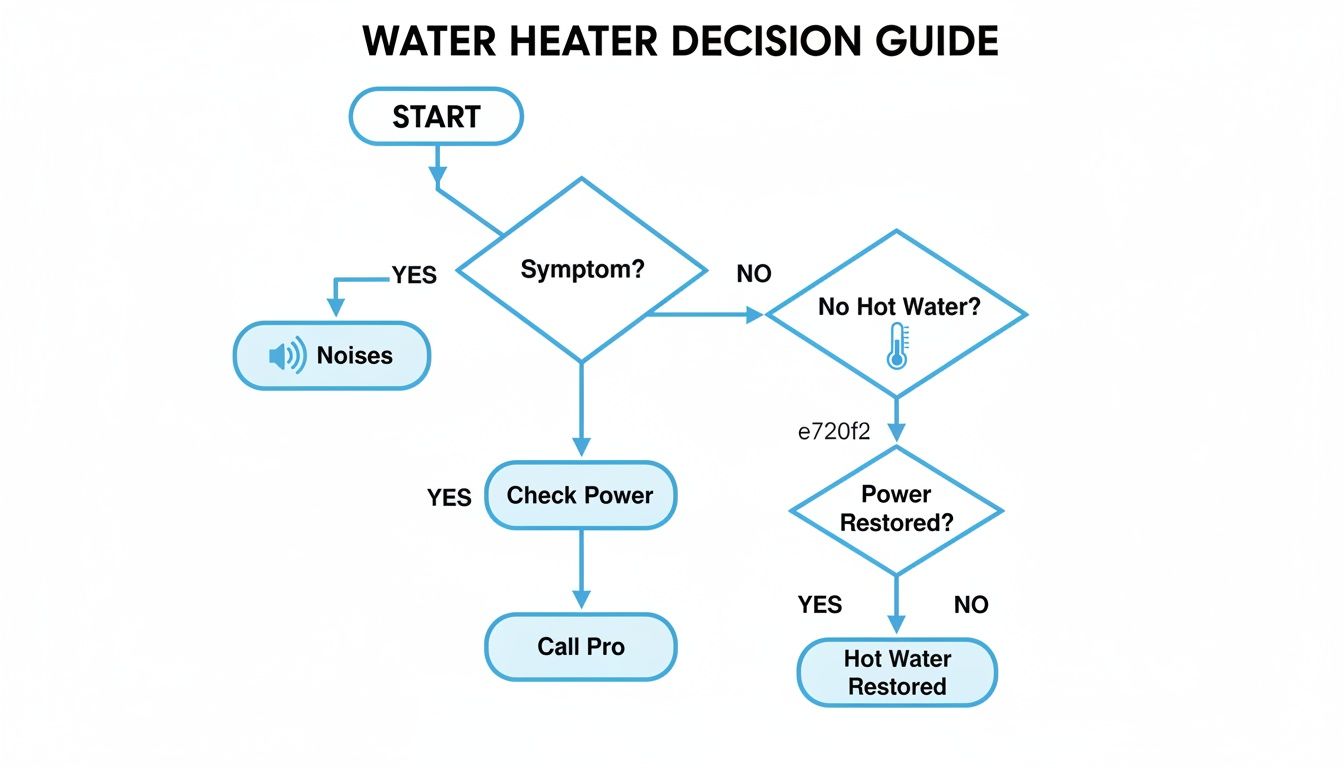
As the flowchart shows, sometimes the answer is simple—no hot water often points to a pilot light or power issue. But other symptoms, like strange noises or leaks, almost always mean you need an expert to take a look.
Quick Symptom Checker for Water Heater Problems
With the safety checks out of the way, you can start playing detective. What clues is your water heater giving you?
A common mistake homeowners make is jumping straight to a complicated repair without checking the absolute basics first. Often, the fix is as simple as a tripped breaker or a pilot light that needs relighting. A methodical approach will save you time, money, and a lot of frustration.
To help you connect the dots, use this quick diagnostic table to match a symptom with its most likely cause.
Symptom | Potential Cause (Gas Heater) | Potential Cause (Electric Heater) | Next Step |
|---|---|---|---|
No Hot Water | Pilot light is out; faulty thermocouple | Tripped circuit breaker; faulty heating element | Check power/pilot; proceed to specific diagnostic steps |
Lukewarm Water | Sediment buildup; failing thermostat; broken dip tube | Faulty thermostat; one failed heating element | Flush the tank; test heating elements |
Strange Noises | Sediment causing boiling sounds (popping/rumbling) | Scale-coated heating element (hissing) | Flush the tank; call a professional for an inspection |
Leaking Water | Loose connection; faulty T&P valve; tank corrosion | Loose heating element gasket; tank failure | Tighten connections; inspect valve; call a pro for tank leaks |
Understanding these potential causes is a great start, but it's just as important to know what not to do. To prevent turning a small problem into a costly disaster, it's wise to review and avoid these common water heater mistakes that could drain your wallet.
Decoding Your Water Heater's Warning Signs
With the initial safety checks complete, it's time to put on your detective hat. Each symptom, from a strange noise to a sudden lack of hot water, tells a story about what’s going on inside that tank. Let's dive into the most common issues and translate them into a clear plan of action.
No Hot Water: The Most Obvious Problem
This is the big one. The good news is the fix can be surprisingly simple, but it depends on your heater type.
For a gas water heater, the first thing to check is the pilot light. This tiny, constant flame ignites the main burner. If it goes out, no heat. Peek through the small window near the bottom of the tank—if you don’t see that steady blue flame, you've found your problem.
For electric water heaters, it’s almost always an electrical issue. Your first move should be to check your home's circuit breaker panel. It’s very common for the dedicated breaker to have tripped.
Lukewarm Water: A Frustrating Middle Ground
Lukewarm water means the system is trying to work, but something is holding it back.A faulty thermostat is a common suspect. If it can't read the water temperature correctly, it won't tell the burners or heating elements to stay on long enough. Sediment buildup at the bottom of the tank can also insulate the water from the heat source.
Another sneaky culprit, especially in older units, is a broken dip tube. This plastic tube sends incoming cold water to the bottom of the tank. If it cracks, that cold water mixes with the hot water at the top, giving you a lukewarm surprise at the faucet.
Leaks: The Drip That Won't Quit
Seeing a puddle of water around your heater is never a good sign, but the source of the leak tells you everything.
Start by grabbing a flashlight and checking all connections and valves. A slow drip often comes from a loose fitting on the inlet or outlet pipes. The temperature and pressure (T&P) relief valve is another prime spot for leaks; if it's dripping, the valve might need replacing. These are usually manageable repairs.
The most critical distinction is whether the leak is from a fitting on the tank or from the tank itself. A leak from the tank body, especially from the bottom, almost always indicates internal corrosion and tank failure. At that point, repair is not an option—replacement is the only solution.
Don't ignore a small leak. If you're having trouble pinpointing the source, understanding the signs you might have a hidden leak in your home can help.
Strange Noises: Translating the Sounds
Is your water heater popping, rumbling, hissing, or clicking? These sounds are direct clues.
Popping or Rumbling: This is the most common sound and is almost always caused by sediment buildup. Minerals settle at the bottom, and the burner has to heat the water through that layer, causing small pockets of water to boil and pop like popcorn.
Hissing or Sizzling: A distinct hissing sound often points to a leak. If water is dripping onto a hot surface, like the burner or an electric heating element, it will sizzle. This needs immediate attention.
Ticking or Clicking: This can be normal as metal parts expand and contract. However, if it's a new or loud sound, it could point to a problem with a valve or electrical component.
In areas with hard water, mineral buildup happens fast and is a leading cause of leaks and bursts.
Smells You Should Never Ignore
Some odors are serious warnings.
If you smell rotten eggs near a gas water heater, you could have a natural gas leak. Utilities add a chemical called mercaptan to give it that distinct smell for safety. Act fast: shut off the gas supply, open windows, get everyone out, and call for professional help from a safe distance.
If you smell burning plastic, it’s likely an electrical problem. Overheating wires are a fire hazard. Shut off the power to the unit at the circuit breaker immediately and call a licensed plumber or electrician.
Remember, a malfunctioning gas appliance can produce carbon monoxide, an odorless, dangerous gas. Knowing how to test for carbon monoxide in your home is a vital safety skill.
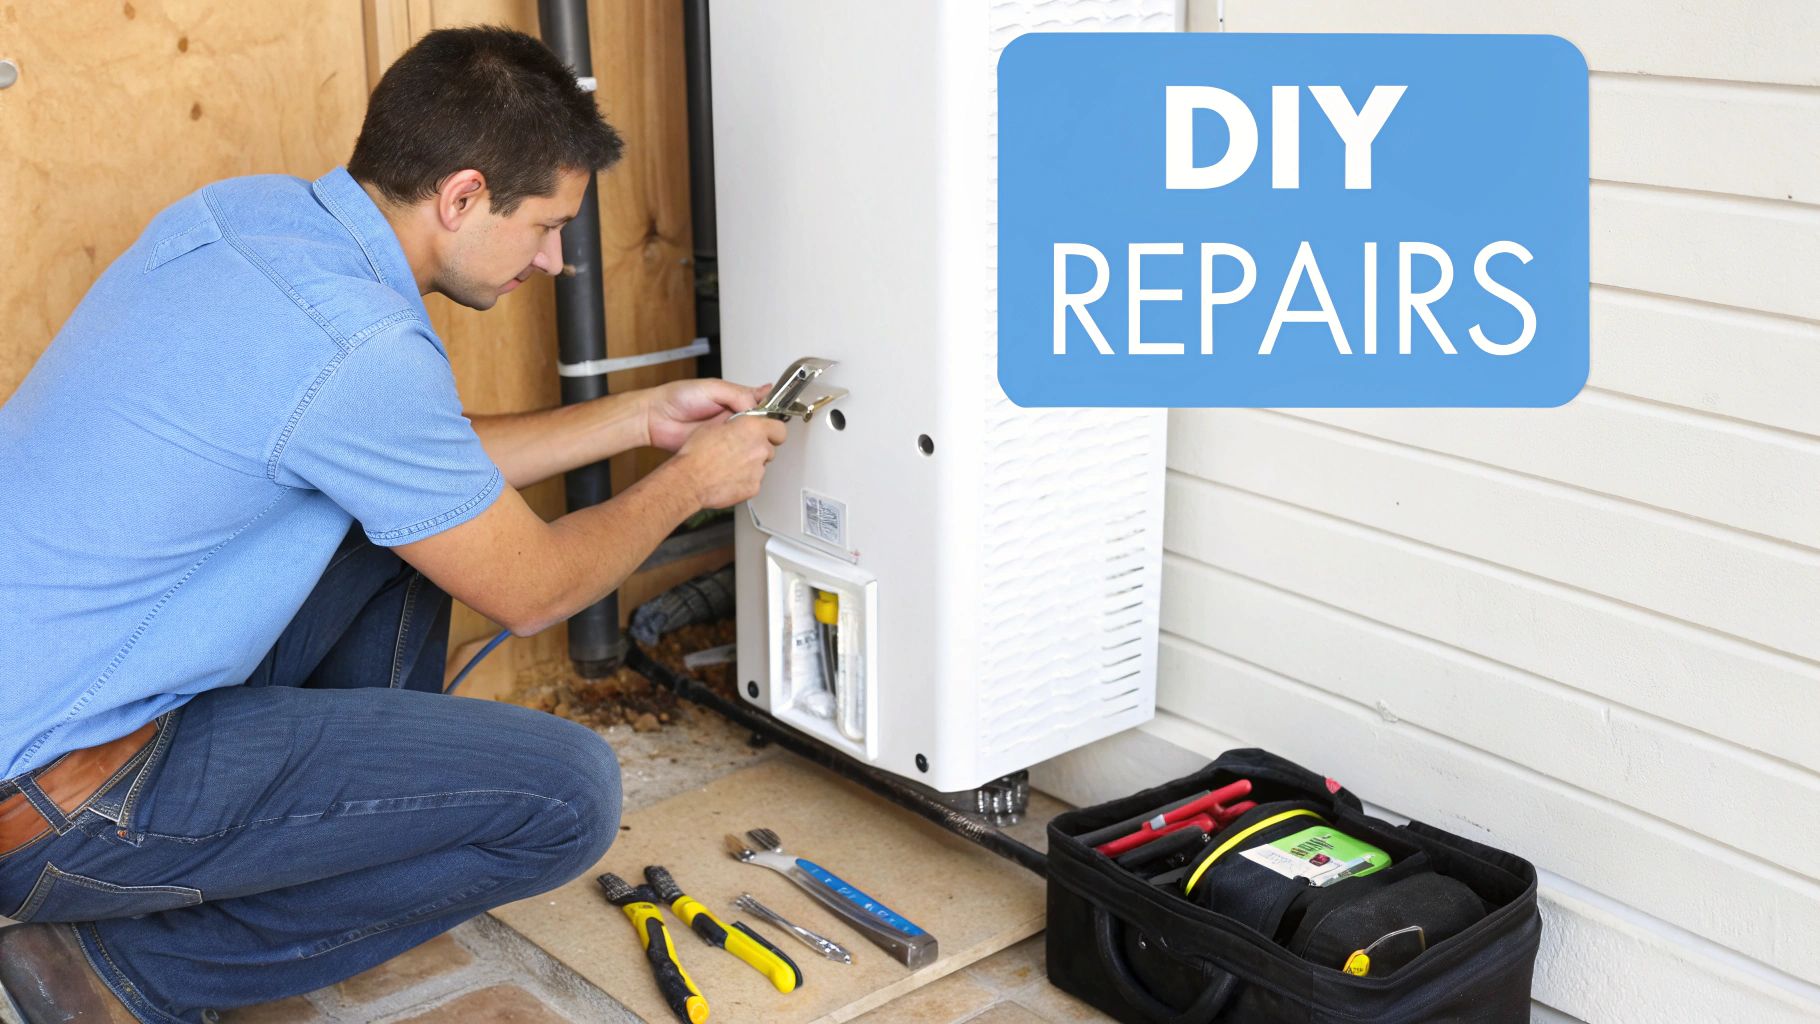
Common DIY Water Heater Fixes (and When to Stop)
Many common water heater hiccups are well within reach for a handy homeowner. We're going to walk through a few fixes you can handle with confidence, but remember: every single one of these tasks starts with shutting off the power or gas supply before you touch a thing. Safety first, always.
Essential Tools for Basic Water Heater Repairs
You don't need a whole plumbing truck, but having a few key items on hand will make these jobs much smoother.
Adjustable Pipe Wrench: For loosening or tightening fittings.
Screwdriver Set: For removing access panels.
Garden Hose: Essential for flushing the tank.
Bucket: For catching drips.
Multimeter: Invaluable for testing electric heater elements and thermostats.
Work Gloves and Safety Glasses: Don't skip these.
Relighting a Gas Heater's Pilot Light
A pilot light going out is a top reason for "no hot water" calls and is often the easiest fix in any water heater troubleshooting playbook.
Before you start, read the instructions printed on your water heater, as models vary. In most cases, you'll turn the gas control knob to "PILOT," press it down to get the gas flowing, and hit the igniter button to create the spark. You'll need to keep holding the knob down for up to a minute after the flame catches to give the thermocouple time to heat up.
Safety First: If you smell gas at any point, stop immediately. Do not touch light switches or use your phone. Turn the gas valve off, air out the space, and call a professional from outside your home.
Testing the Temperature and Pressure (T&P) Relief Valve
The lever on the side of your tank is the T&P valve, a critical safety feature. It's designed to automatically release pressure if it builds to dangerous levels.
To test it, place a bucket under the discharge pipe. Carefully lift the lever. You should hear a whoosh of air or see a burst of hot water. When you let go, the lever should snap back and completely stop the flow. If it keeps dripping, the valve needs to be replaced.
Flushing the Tank to Remove Sediment
Minerals in our water settle at the bottom of the tank and form a thick layer of sediment. This sludge makes your heater work harder, kills its efficiency, and causes popping and banging sounds. Flushing the tank once a year gets rid of all that buildup.
The basic process involves turning off the power/gas and cold water supply, then connecting a garden hose to the drain valve. Run the hose outside, open the drain valve, and open a hot water faucet inside to let air in so the tank can empty. For a detailed walkthrough, see our guide to water heater flushing for Los Angeles homes, which covers specific safety steps.
Testing a Thermocouple
If the pilot light won't stay lit, the problem is often a bad thermocouple. This probe sits in the pilot flame and sends a tiny electrical signal to the main gas valve, telling it, "It's safe to send more gas." When it fails, it shuts everything down.
You can test it with a multimeter set to DC millivolts (mV). A healthy thermocouple should generate between 20-30 mV. If the reading is low or zero, it needs to be replaced. While swapping one out is a manageable job, getting an exact match for your model is critical for safety.
Knowing When to Call a Professional Plumber
The smartest move any homeowner can make is knowing their limits. While you can handle many common water heater fixes, some red flags demand you put down the wrench and call a licensed plumber immediately. This isn’t about admitting defeat; it’s about protecting your home.
Clear Red Flags Demanding a Professional
If you encounter any of these scenarios, your next step should be calling for backup.
The Smell of Rotten Eggs: This signifies a potential natural gas leak. Do not touch anything electrical. Get everyone out of the house, and from a safe distance, call your gas company and a plumber.
Leaks from the Tank Itself: If you see water weeping from the body of the tank—especially near the bottom—it’s game over. That means the tank has rusted through from the inside and must be replaced by a professional.
Major Electrical Problems: For electric heaters, if you see scorch marks, smell burning plastic, or a breaker keeps tripping, there’s a serious electrical fault. Do not try to diagnose this yourself.
Trying to fix these issues can lead to fire, flooding, or carbon monoxide poisoning. It’s not worth the risk.
Did you know that a shocking 20-30% of all water heater failures trace back to improper installation? Botched venting, missing expansion tanks, and faulty wiring can lead to the exact leaks and overheating issues plumbers are called to fix. You can learn more about these common installation pitfalls.
Complex Repairs and Code Compliance
Beyond immediate dangers, some jobs are best left to pros due to their complexity and local building codes. In Los Angeles, for instance, we have specific safety regulations.
A licensed plumber ensures every detail meets local codes, which often includes:
Seismic Straps: In California, heaters must be properly secured with approved straps to prevent toppling during an earthquake.
Expansion Tanks: These are often required to absorb pressure changes as water heats up, protecting your plumbing system.
Proper Venting: This is non-negotiable for gas heaters. Incorrect venting can release deadly, odorless carbon monoxide into your home.
Navigating these requirements is routine for a professional. If you’re not sure who to trust, our guide on how to choose the right plumbing professional for your home is a great place to start.
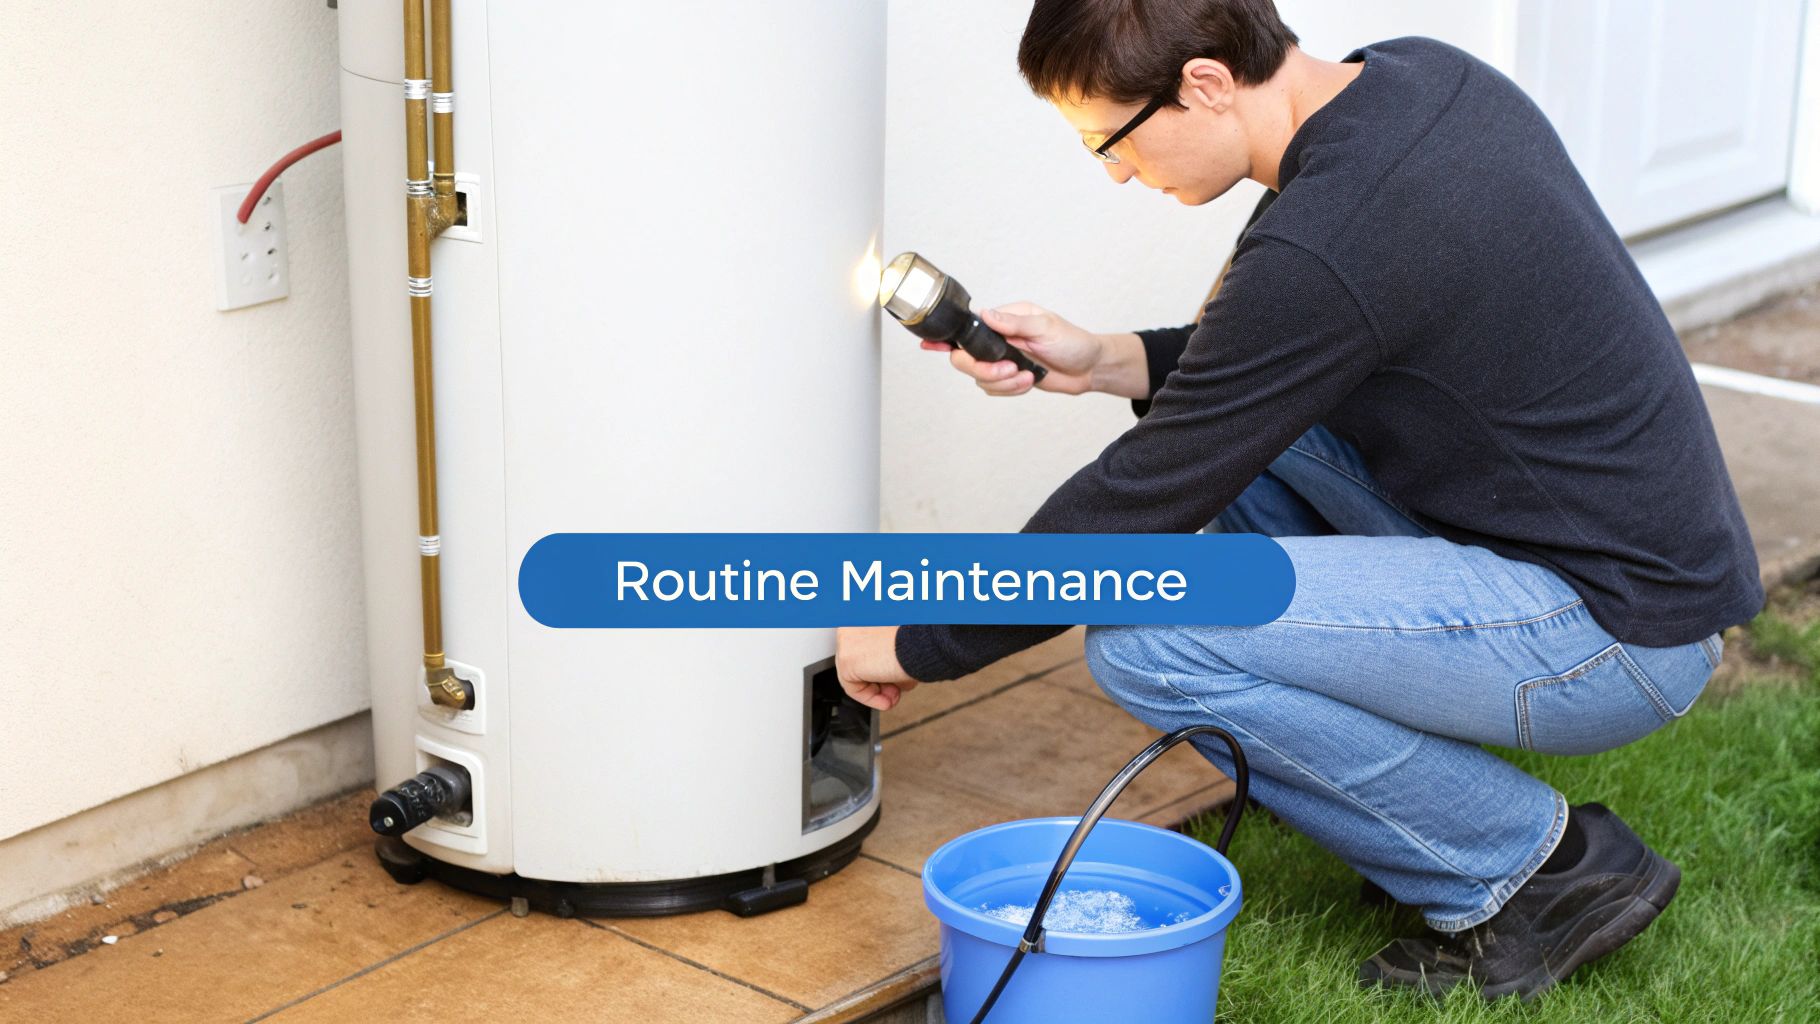
Proactive Maintenance That Extends Your Water Heater's Life
The best way to handle water heater troubleshooting is to prevent problems in the first place. A little proactive care can add years to its lifespan, boost its efficiency, and save you from the shock of a sudden, ice-cold shower.
Why Flushing Your Tank Is Non-Negotiable
If you only do one maintenance task, make it this one. Annually flushing the tank is critical, especially in areas with hard water. Over time, minerals like calcium and magnesium settle at the bottom, creating a thick layer of sediment. This gunk acts as an insulator, forcing your heater to work much harder, wasting energy and potentially causing the tank to overheat and fail.
The Life-Saving Anode Rod Check
Inside your water heater tank is a component called an anode rod. This long metal rod, usually made of magnesium or aluminum, corrodes so your steel tank doesn't. It essentially sacrifices itself to prevent rust from eating through the tank wall.
An anode rod is the unsung hero of your water heater. Ignoring it is like removing the goalie from a hockey team. Checking it every couple of years and replacing it when it’s heavily corroded is a cheap and easy way to double the life of your unit.
Once the anode rod is gone, the water starts attacking the tank itself, a fast track to leaks and total failure. For a complete guide, check out our post on 8 essential water heater maintenance tips for Los Angeles homeowners.
Testing Critical Safety Features
Your water heater comes with safety mechanisms that need a quick test. The most important is the Temperature and Pressure (T&P) relief valve. This valve opens automatically if the temperature or pressure inside the tank gets dangerously high. To test it, lift the lever for a few seconds. A burst of hot water should shoot out. If nothing comes out, or if it drips after you close it, the valve needs to be replaced immediately.
Annual Water Heater Maintenance Checklist
Follow this yearly checklist to keep your water heater running efficiently.
Maintenance Task | Frequency | DIY or Pro? | Key Benefit |
|---|---|---|---|
Flush the Tank | Annually | DIY | Removes sediment buildup, improves efficiency |
Inspect Anode Rod | Every 1-2 Years | DIY | Prevents tank corrosion and extends unit life |
Test T&P Valve | Annually | DIY | Ensures safety mechanism works to prevent explosion |
Check for Leaks | Quarterly | DIY | Catches small drips before they cause major damage |
Insulate Pipes | One-time | DIY | Reduces heat loss, saves energy |
Adjust Thermostat | As Needed (120°F) | DIY | Prevents scalding and saves on energy costs |
Professional Inspection | Every 2-3 Years | Pro | Catches complex issues a homeowner might miss |
Taking these small steps is the smartest way to protect your investment and ensure you always have the hot water you need.
Common Questions About Water Heater Problems
Let's wrap up by tackling some of the most common questions we hear from homeowners. Getting straight answers can help you decide if you need a quick fix, a major repair, or a full replacement.
How Long Should My Water Heater Last?
A conventional tank-style water heater generally lasts 10 to 12 years. A tankless model can often last 20 years or more with proper maintenance. Signs that your unit is nearing the end of its life include rusty hot water, recurring small leaks, or loud rumbling noises. If your heater is over a decade old and requires frequent repairs, replacing it is usually the most cost-effective solution.
Is Upgrading to a Tankless Water Heater Worth It?
For many families, yes. Tankless units are more energy-efficient because they only heat water on demand, which can lead to noticeable savings on utility bills. They also have a longer lifespan and save significant space. While the upfront cost is higher, the long-term savings and the benefit of never running out of hot water make it a popular upgrade.
What Is an Anode Rod and Why Does It Matter?
An anode rod is a metal rod inside your water heater tank that attracts corrosive elements in the water. It sacrifices itself to prevent the steel tank from rusting out.
Think of the anode rod as your tank's personal bodyguard. Once it's gone, the tank itself becomes the target for corrosion. Checking it every few years and replacing it when depleted is an inexpensive way to dramatically extend the life of your water heater.
Why Does My Pilot Light Keep Going Out?
This common problem with gas water heaters is usually caused by a dirty or failing thermocouple. The thermocouple is a safety sensor that confirms the pilot flame is lit; if it can't sense the flame, it shuts off the gas. Other causes include a strong draft or a clogged pilot tube. If cleaning the pilot assembly doesn't work, the thermocouple likely needs to be replaced by a professional to ensure it’s done safely.
A major failure often brings up questions about insurance. It's helpful to know if your homeowners insurance covers burst pipes and the resulting water damage.
Whether you're facing a minor annoyance or a full-blown emergency, having an expert you can trust makes all the difference. For fast, reliable water heater troubleshooting and repair in the Greater Los Angeles area, the team at ZH Plumbing is ready to help 24/7. Give us a call today to schedule a service or get a free inspection.
Comments